MediaWiki is a software wiki package written in PHP, originally for use on Wikipedia. It is now used by several other projects of the non-profit Wikimedia Foundation and by many other wikis.
MediaWiki is designed to be run on a large server farm for a website that gets millions of hits per day. MediaWiki is an extremely powerful, scalable software and a feature-rich wiki implementation that uses PHP to process and display data stored in a database, such as MySQL.
MediaWiki is a open source wiki package written in PHP.
MediaWiki makes it very easy to link wiki pages using a standard syntax
CloudMint Provides Enterprise Ready images of MediaWiki on the cloud ( AWS marketplace, Azure and Google Cloud Platform).
Deploy MediaWiki securely on cloud i.e. AWS marketplace, Azure and Google Cloud Platform (GCP)
Highlights
Major Features Of MediaWiki
Links with shortcuts, arrangement depends on skin
Skins: Different ways to present the site.
User styles: Users can adapt the look and feel of the site through custom CSS on their user pages.
“Stub” threshold: Users can see links to articles below a certain size rendered in a different color
Printable versions of articles can be generated
Auto-number headings in an article (optional)
Intra-page Anchors
Generate a table of contents for long articles (optional)
Automatically turn ISBN numbers into links to an editable list of booksellers
XHTML-compatible output (or darn close to it), tidy integration
Multimedia and Extensions
File upload feature allows to upload graphics or sound files
Mathematical formulas using LaTeX syntax
Automatic resizing of images using ImageMagick or libgd, simple syntax for image captions and image alignment
WikiHiero for Egyptian hieroglyphs (needs separate installed components)
EasyTimeline for time charts (needs separate installed components)
Keeping track of edits
Watchlist Every page has a link “Watch this article for me”.
User contributions in the sidebar of each user page list all articles the user has worked on, according to the database.
Extended recent changes with dynamic collapsing of edits to the same article and quick links to diff the edit, show the article history, show the user page, show the user talk page, or block the user (for sysops)
“Related changes”: View a filtered version of Recent Changes to the pages linked from the current page.
Side-by-side diffs – the diffs are shown side-by-side and changed portions of lines are highlighted, making it much easier to see what’s what. Additionally, a diff is shown during an edit conflict so you can see exactly what you need to reintegrate.
Real names. Users can (optionally) specify a “real name” they want to use for author credits.
On-page credits. Administrators can enable an on-page paragraph giving credit to editors who’ve worked on a page.
Backend
Database-driven (MySQL and PostgreSQL are both supported)
Parser caching: rendered pages are cached to reduce redundant processing
Output caching: complete page output can be optionally saved as static HTML files for serving to other clients; support for Squid proxies
Cookie-based account and login system, but anonymous users can also edit pages
All revisions of an article are stored (optionally compressed)
Username: To connect to the operating system, use RDP and the username is Administrator.
Password : Please Click here to know how to get password .
Step 2) Database Login Details :
MYSQL Username : root
MYSQL Password : TChangeh&33plz7@L
Note : – For Stack Database MySQL DB my_wiki with user my_wiki and password TChangeh&33plz7@L has already been created.Please use this database for you Stack Configuration.
Step 3)Application URL: Access the application via a browser at http://PublicDNS/Mediawiki Step 4)Other Information:
Note :- Please do the initial MediaWiki setup with http://YourIP/Mediawiki
1.Default installation path: will be in your web root folder “C:\inetpub\wwwroot\Mediawiki”
2.Default ports:
Windows Machines: RDP Port – 3389
Http: 80
Https: 443
Mysql ports: By default, these are not open on Public Endpoints. Mysql:3306
Configure custom inbound and outbound rules using this link
AWS Steps to configure the stack:
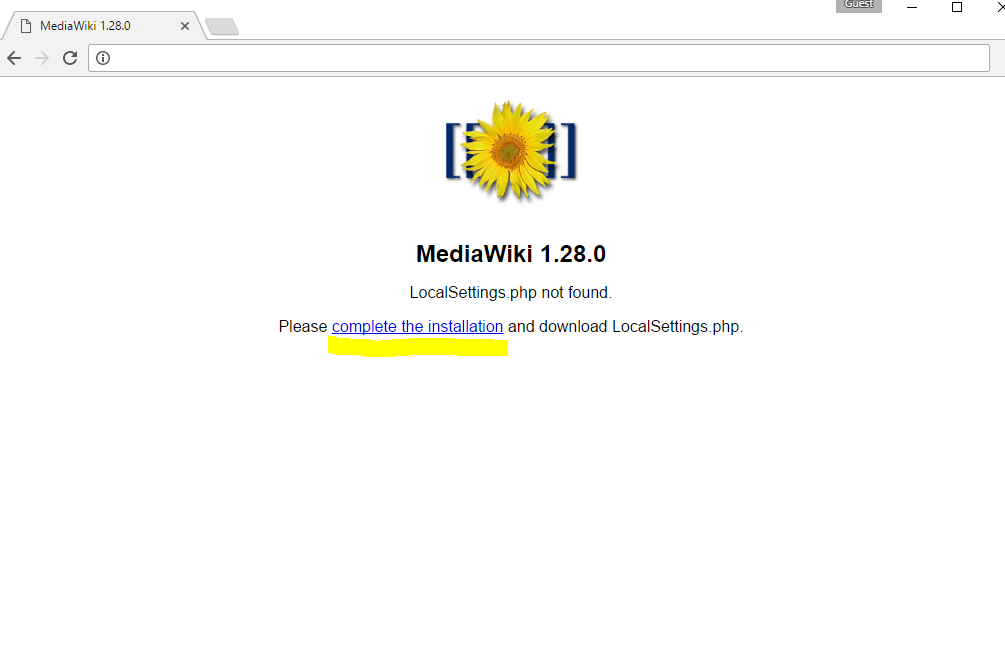
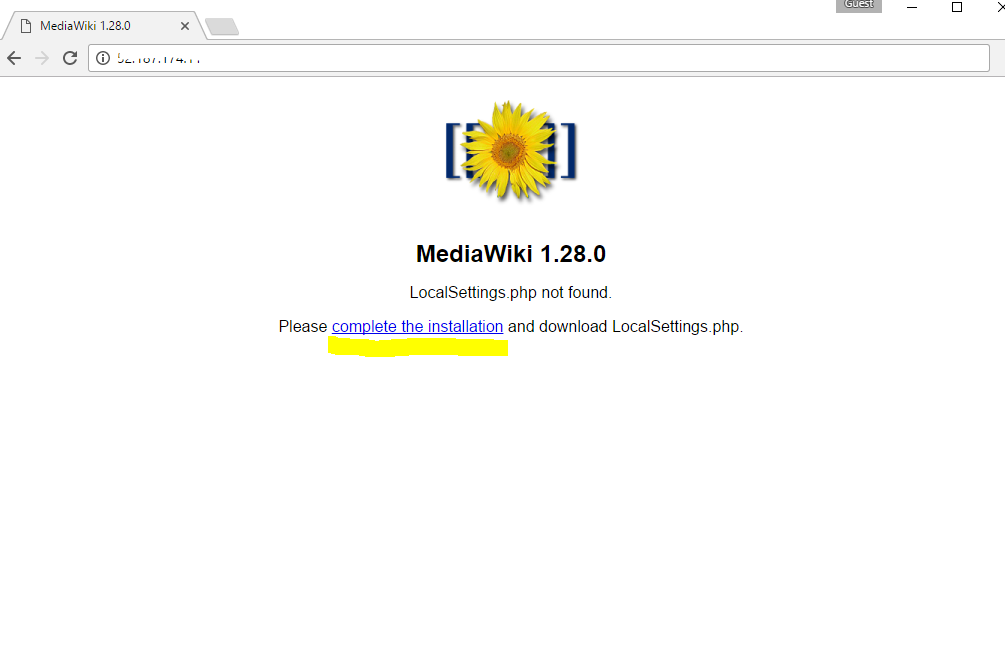
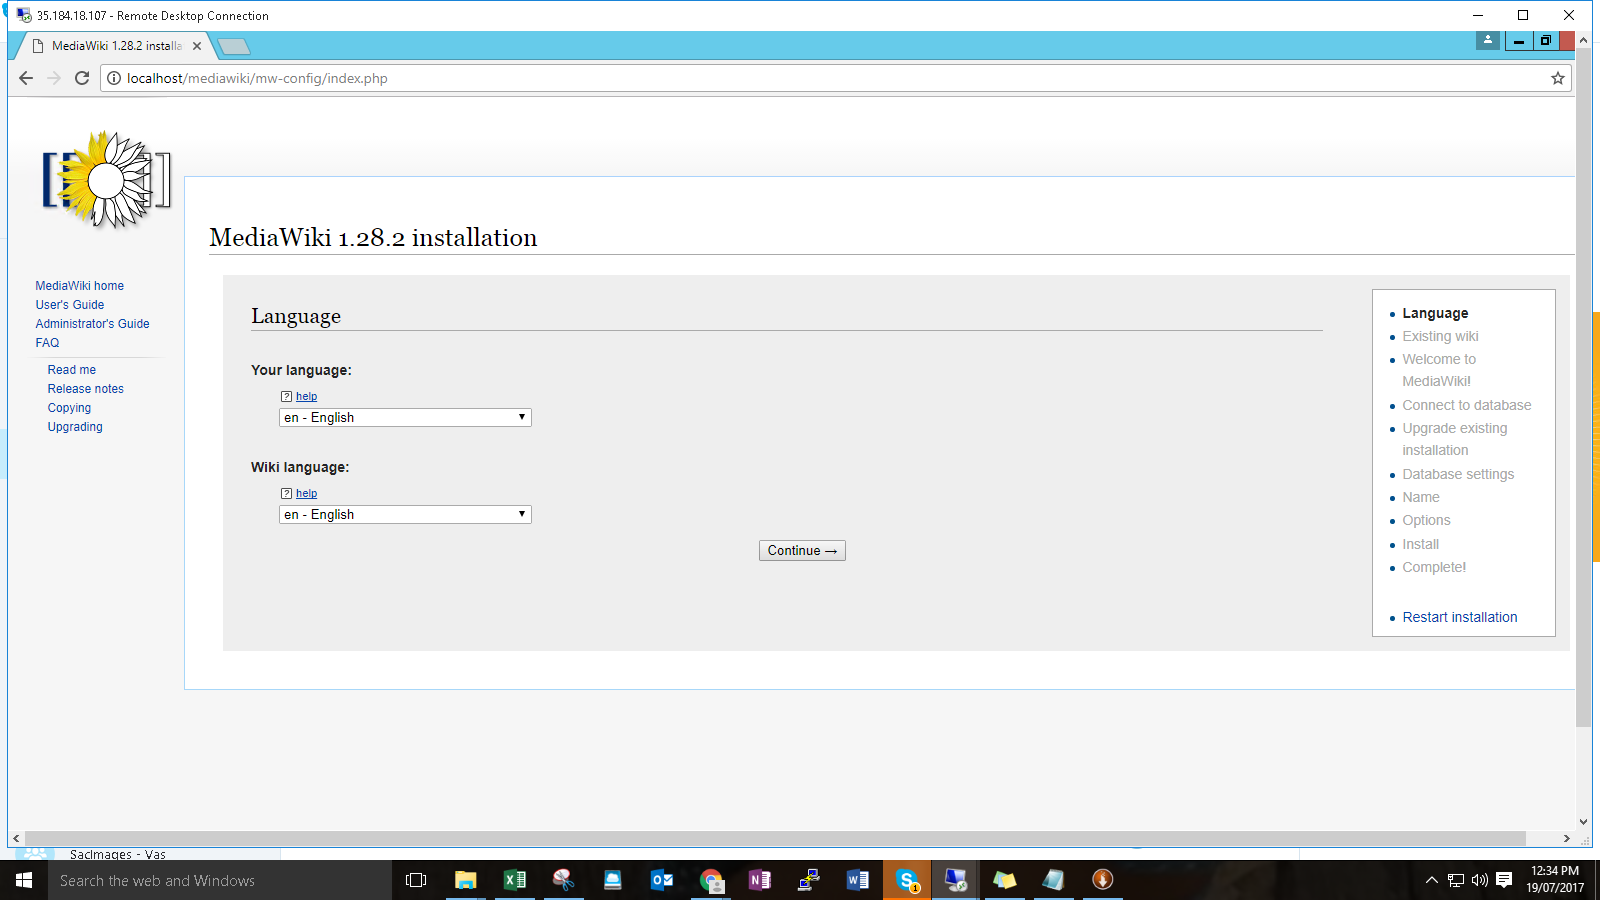
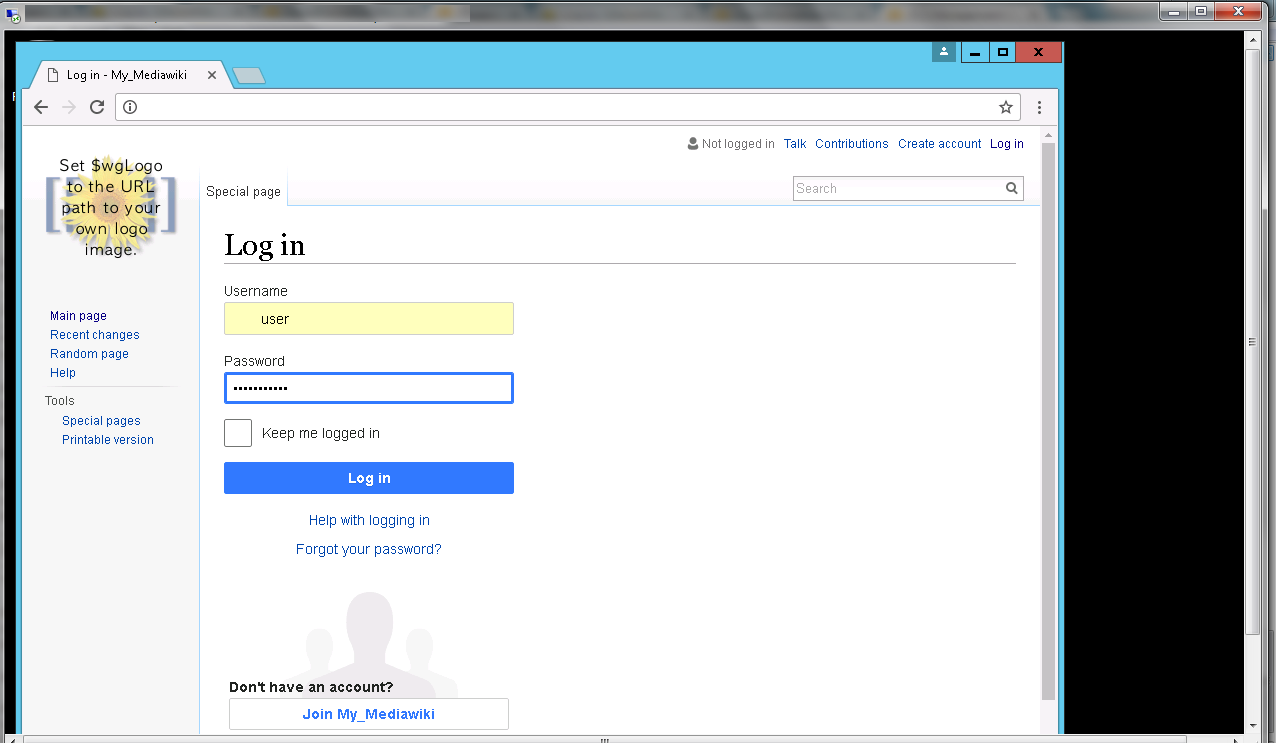
Step 1: When you open http://PublicDNS/Mediawiki you shall see screen like:
Step 2: Click on Complete the installation and select defaults till you reach DB configuration.
In DB configuration step you can select MySQL and database details as Host localhost DB my_wiki with user my_wiki and password Passw@rd123
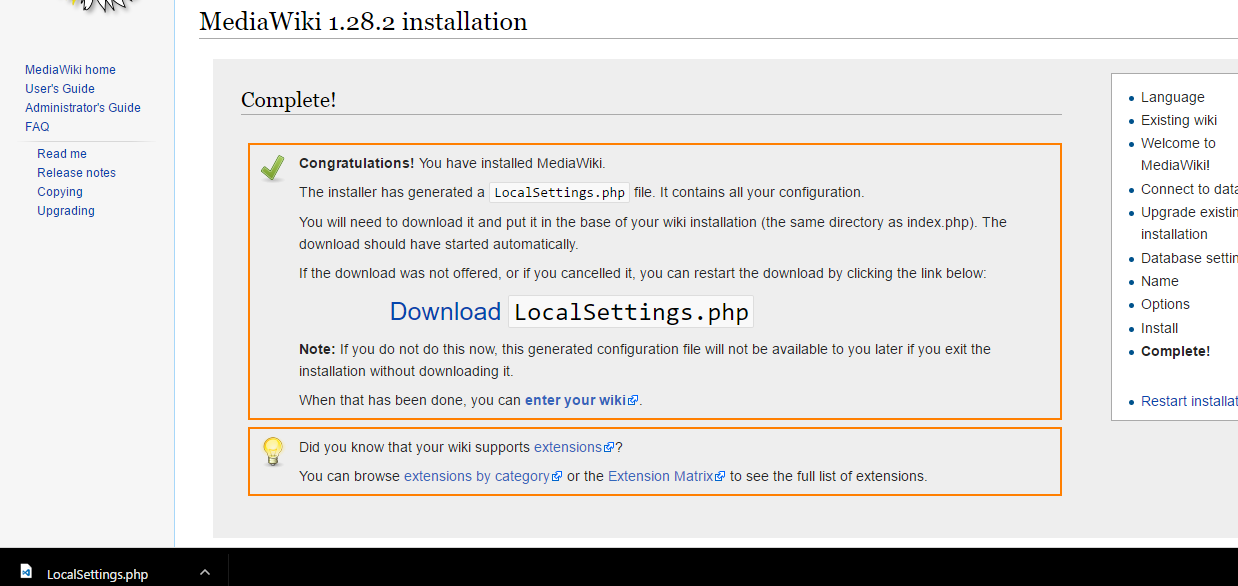
Step 3: After finishing the setup you can see page like below which will download LocalSetting.php
Copy this file in root path as mentioned above from the RDC of the machine “C:\inetpub\wwwroot\Mediawiki”
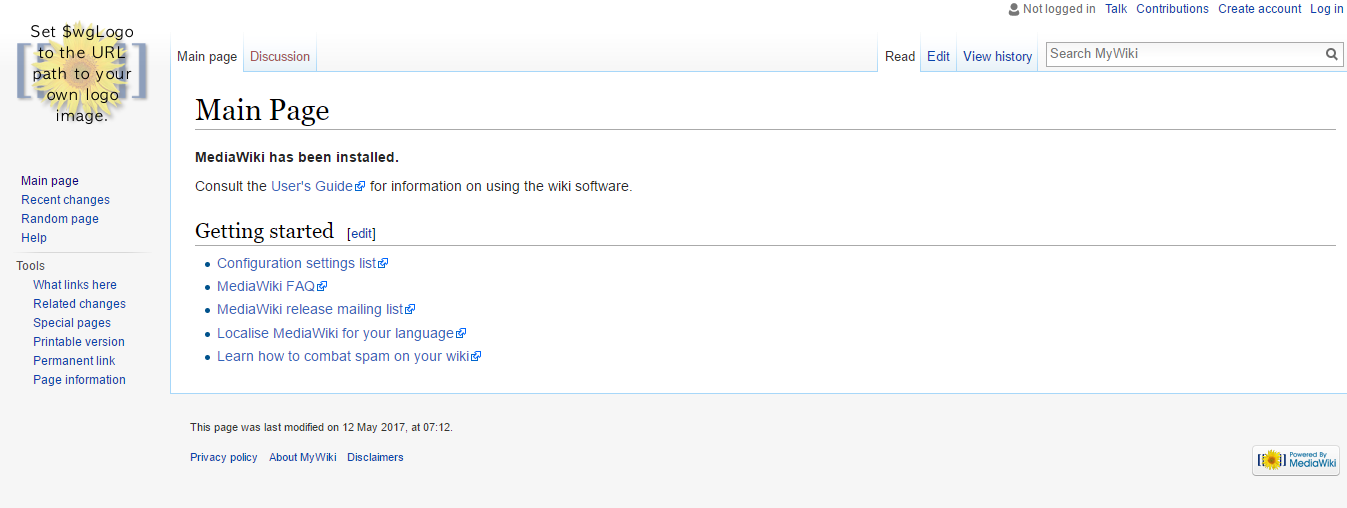
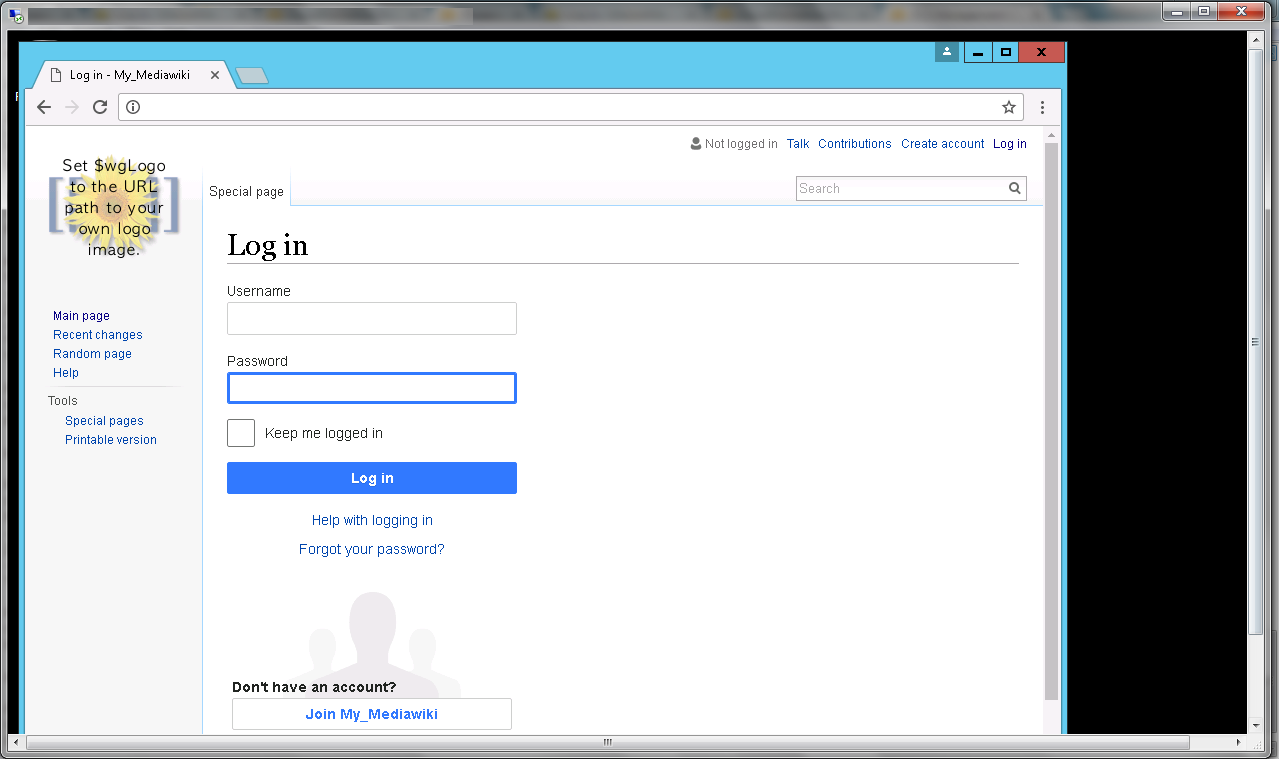
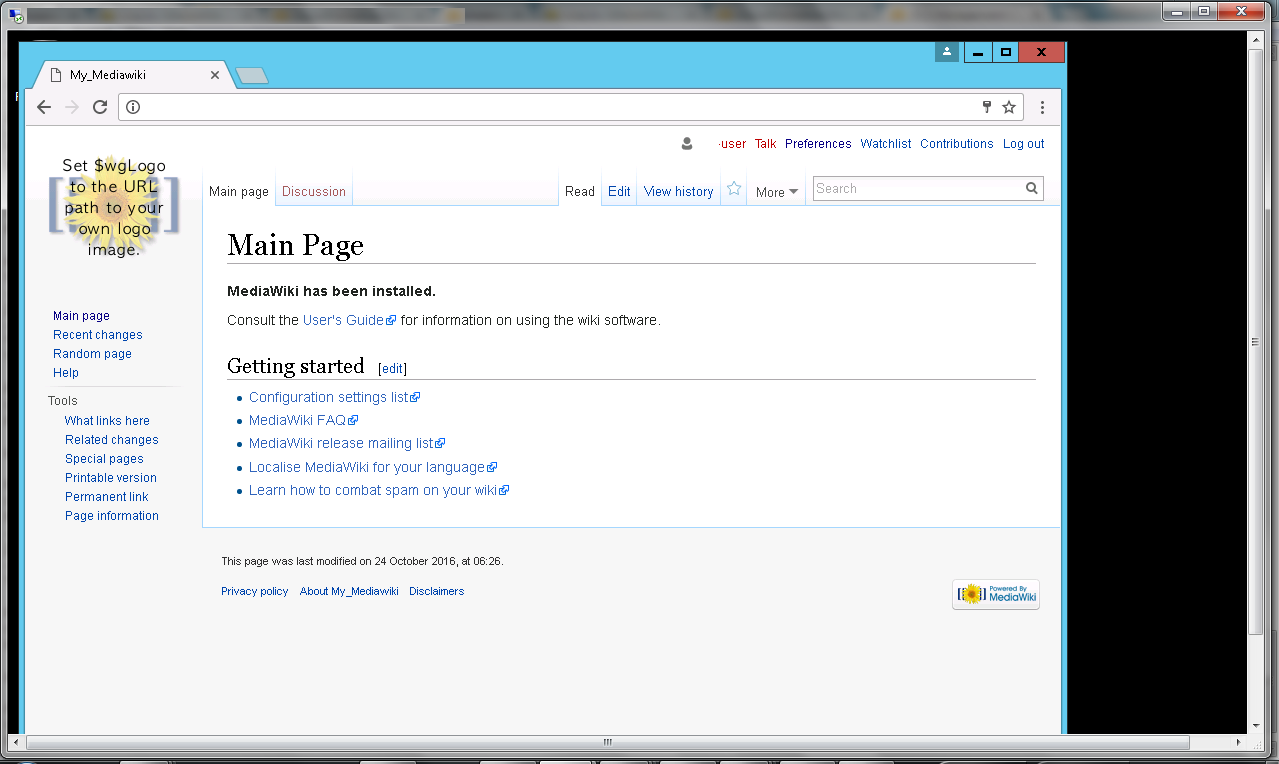
Step 4: After this file is copied you can successfully access the site
Step 3)Application URL: Access the application via a browser at http://PublicDNS/Mediawiki Step 4)Other Information:
Note :- Please do the initial Mediawiki setup with http://YourIP/Mediawiki
1.Default installation path: will be in your web root folder “C:\inetpub\wwwroot\Mediawiki”
2.Default ports:
Windows Machines: RDP Port – 3389
Http: 80
Https: 443
Mysql ports: By default, these are not open on Public Endpoints. Mysql:3306
Configure custom inbound and outbound rules using this link
AWS Steps to configure the stack:
Step 1: When you open http://PublicDNS/Mediawiki you shall see screen like:
Step 2: Click on Complete the installation and select defaults till you reach DB configuration.
In DB configuration step you can select MySQL and database details as Host localhost DB my_wiki with user my_wiki and password TChangeh&33plz7@L
Step 3: After finishing the setup you can see page like below which will download LocalSetting.php
Copy this file in root path as mentioned above from the RDC of the machine “C:\inetpub\wwwroot\Mediawiki”
Step 4: After this file is copied you can successfully access the site
Username: Your chosen username when you created the machine ( For example: Azureuser)
Password: Your Chosen Password when you created the machine ( How to reset the password if you do not remember)
Step 2) Database Login Details:
MYSQL Username: root
MYSQL Password: TChangeh&33plz7@L
Note: For Stack Database: DB my_wiki with user my_wiki and password TChangeh&33plz7@L has already been created.Please use this database for you Stack Configuration.
Step 3) Application URL: Access the application via a browser at http://PublicDNS/MediaWikiStep 4) Other Information:
1.Default installation path: will be in your web root folder “/var/www/html/”
2.Default ports:
Linux Machines: SSH Port – 22
Http: 80
Https: 443
MySQL ports: By default these are not open on Public Endpoints. MySQL :3306
3. To access Webmin interface for management please follow this link
Configure custom inbound and outbound rules using this link
Username: Your chosen username when you created the machine ( For example Azureuser)
Password : Your Chosen Password when you created the machine ( How to reset the password if you do not remember)
Step 2 ) Database Login Details:
MYSQL Username: root
MYSQL Password: TChangeh&33plz7@L
Step 3 )Application URL: Access the application via a browser at http://PublicDNS/Mediawiki
Username: azureuser
Passward: TChangeh&33plz7@L
Step 4 ) Other Information:
1.Default installation path: will be in your web root folder “C:\inetpub\wwwroot\Mediawiki”
2.Default ports:
Windows Machines: RDP Port – 3389
Http: 80
Https: 443
Mysql ports: By default, these are not open on Public Endpoints. Mysql:3306
Configure custom inbound and outbound rules using this link
Steps to configure the stack:
Step 1: When you open http://PublicDNS/Mediawiki you shall see the screen like:
Step 2: Click on Complete the installation and select defaults till you reach DB configuration.
In DB configuration step you can select MySQL and database details as Host localhost DB my_wiki with user my_wiki and password TChangeh&33plz7@L
Step 3: After finishing the setup you can see page like below which will download LocalSetting.php
Copy this file in root path as mentioned above from the RDC of the machine “C:\inetpub\wwwroot\Mediawiki”
Step 4: After this file is copied you can successfully access the site
Username: Your chosen username when you created the machine ( For example: Azureuser)
Password: Your Chosen Password when you created the machine ( How to reset the password if you do not remember)
Step 2 ) Database Login Details:
MYSQL Username: root
MYSQL Password: TChangeh&33plz7@L
Note: For Stack Database: DB my_wiki with user my_wiki and password TChangeh&33plz7@L has already been created.Please use this database for you Stack Configuration.
Step 3 )Application URL: Access the application via a browser at http://PublicDNS/Step 4) Other Information:
1.Default installation path: will be on your web root folder “/var/www/html/”
2.Default ports:
Linux Machines: SSH Port – 22
Http: 80
Https: 443
MySQL ports: By default these are not open on Public Endpoints. MySQL :3306
3. To access Webmin interface for management please follow this link
Configure custom inbound and outbound rules using this link
1.Click the Launch on Compute Engine button to choose the hardware and network settings.
2.You can see at this page, an overview of CloudMint Image as well as estimated cost of running the instance.
3.In the settings page, you can choose the number of CPUs and amount of RAM, the disk size and type etc.
Step 2)RDP Connection: To initialize the DB Server connect to the deployed instance, Please follow Instructions to Connect to Windows instance on Google CloudStep 3) Database Login Details:
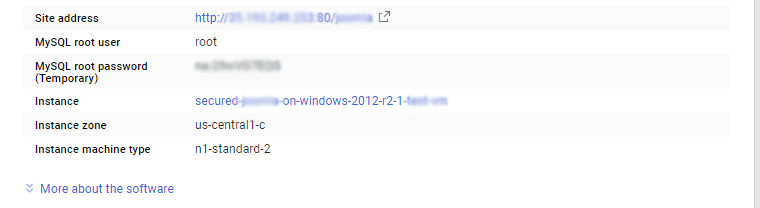
For local MySQL root password, please use the temporary password generated automatically during image creation
i) Please connect to Remote Desktop as given in step 2 to ensure stack is properly configured and DB is initialized.
ii) You can use MySQL server instance as localhost, username root and password
If you have closed the deployment page you can also get the MySQL root password from VM Details “Custom metadata” Section.
Step 4 )Application URL: Access the application via a browser at http://PublicDNS/Mediawiki
Steps to configure the stack:
Step 1: When you open http://PublicDNS/Mediawiki you shall see the screen like:
Step 2: Click on Complete the installation and select defaults till you reach DB configuration.
Step 3: After finishing the setup you can see page like below which will download LocalSetting.php
Copy this file in root path as mentioned above from the RDC of the machine “C:\inetpub\wwwroot\Mediawiki”
Step 4: After this file is copied you can successfully access the site
Step 5 ) Other Information:
1.Default installation path: will be in your web root folder “C:\inetpub\wwwroot\Mediawiki”
2.Default ports:
Windows Machines: RDP Port – 3389
Http: 80
Https: 443
Mysql ports: By default, these are not open on Public Endpoints. Mysql :3306
Installation Instructions For Ubuntu
Click the Launch on Compute Engine button to choose the hardware and network settings.
You can see at this page, an overview of CloudMint Image as well as some estimated costs of VM.
In the settings page, you can choose the number of CPUs and amount of RAM, the disk size and type etc.
Step 3) Database Login Details:
The below screen appears after successful deployment of the image.
For local MySQL root password, please use the temporary password generated automatically during image creation as shown above.
i) Please connect to Remote Desktop as given in step 2 to ensure stack is properly configured and DB is initialized.
ii) You can use MySQL server instance as localhost, username root and password as shown above.
If you have closed the deployment page you can also get the MySQL root password from VM Details “Custom metadata” Section
Step 4) Application URL: Access the application via a browser at http://PublicDNS/Mediawiki
Steps to configure the stack:
Step 1: When you open http://PublicDNS/Mediawiki you shall see the screen like:
Step 2: Click on Complete the installation and select defaults till you reach DB configuration.
Step 3: After finishing the setup you can see page like below which will download LocalSetting.php
Copy this file in root path as mentioned above from the RDC of the machine “C:\inetpub\wwwroot\Mediawiki”
Step 4: After this file is copied you can successfully access the site
Step 4) Other Information:1.Default ports:
Linux Machines: SSH Port – 22
2. To access Webmin interface for management please follow this link
Installation Instructions For Redhat
Step 1) VM Creation:
1.Click the Launch on Compute Engine button to choose the hardware and network settings.
2.You can see at this page, an overview of CloudMint Image as well as some estimated costs of VM.
3.In the settings page, you can choose the number of CPUs and amount of RAM, the disk size and type etc.
Step 2)SSH Connection: To connect to the deployed instance, Please follow Instructions to Connect to Redhat instance on Google Cloud
1) Download Putty.
2) Connect to the virtual machine using SSH key
Hostname: PublicDNS / IP of machine
Port : 22
Step 3) Database Login Details:
For local MySQL root password, please use the temporary password generated automatically during image creation
i) Please connect to Remote Desktop as given in step 2 to ensure stack is properly configured and DB is initialized.
ii) You can use MySQL server instance as localhost, username root and password
If you have closed the deployment page you can also get the MySQL root password from VM Details “Custom metadata” Section
Step 4)Application URL: Access the application via a browser athttp://PublicDNS/Mediawiki
Steps to configure the stack:
Step 1: When you open http://PublicDNS/Mediawiki you shall see the screen like:
Step 2: Click on Complete the installation and select defaults till you reach DB configuration.
Step 3: After finishing the setup you can see page like below which will download LocalSetting.php
Copy this file in root path as mentioned above from the RDC of the machine “C:\inetpub\wwwroot\Mediawiki”
Step 4: After this file is copied you can successfully access the site
Step 5) Other Information:1.Default ports:
Linux Machines: SSH Port – 22
2. To access Webmin interface for management please follow this link
 Step 2: Click on Complete the installation and select defaults till you reach DB configuration.
In DB configuration step you can select MySQL and database details as Host localhost DB my_wiki with user my_wiki and password Passw@rd123
Step 3: After finishing the setup you can see page like below which will download LocalSetting.php
Step 2: Click on Complete the installation and select defaults till you reach DB configuration.
In DB configuration step you can select MySQL and database details as Host localhost DB my_wiki with user my_wiki and password Passw@rd123
Step 3: After finishing the setup you can see page like below which will download LocalSetting.php
 Copy this file in root path as mentioned above from the RDC of the machine “C:\inetpub\wwwroot\Mediawiki”
Step 4: After this file is copied you can successfully access the site
Copy this file in root path as mentioned above from the RDC of the machine “C:\inetpub\wwwroot\Mediawiki”
Step 4: After this file is copied you can successfully access the site


 Step 4) Other Information:
1.Default installation path: will be in your web root folder “/var/www/html/”
2.Default ports:
Step 4) Other Information:
1.Default installation path: will be in your web root folder “/var/www/html/”
2.Default ports:
 Step 2: Click on Complete the installation and select defaults till you reach DB configuration.
In DB configuration step you can select MySQL and database details as Host localhost DB my_wiki with user my_wiki and password TChangeh&33plz7@L
Step 3: After finishing the setup you can see page like below which will download LocalSetting.php
Step 2: Click on Complete the installation and select defaults till you reach DB configuration.
In DB configuration step you can select MySQL and database details as Host localhost DB my_wiki with user my_wiki and password TChangeh&33plz7@L
Step 3: After finishing the setup you can see page like below which will download LocalSetting.php
 Copy this file in root path as mentioned above from the RDC of the machine “C:\inetpub\wwwroot\Mediawiki”
Step 4: After this file is copied you can successfully access the site
Copy this file in root path as mentioned above from the RDC of the machine “C:\inetpub\wwwroot\Mediawiki”
Step 4: After this file is copied you can successfully access the site
 Step 2: Click on Complete the installation and select defaults till you reach DB configuration.
Step 3: After finishing the setup you can see page like below which will download LocalSetting.php
Step 2: Click on Complete the installation and select defaults till you reach DB configuration.
Step 3: After finishing the setup you can see page like below which will download LocalSetting.php
 Copy this file in root path as mentioned above from the RDC of the machine “C:\inetpub\wwwroot\Mediawiki”
Step 4: After this file is copied you can successfully access the site
Copy this file in root path as mentioned above from the RDC of the machine “C:\inetpub\wwwroot\Mediawiki”
Step 4: After this file is copied you can successfully access the site


 Step 5 ) Other Information:
1.Default installation path: will be in your web root folder “C:\inetpub\wwwroot\Mediawiki”
2.Default ports:
Step 5 ) Other Information:
1.Default installation path: will be in your web root folder “C:\inetpub\wwwroot\Mediawiki”
2.Default ports:
 For local MySQL root password, please use the temporary password generated automatically during image creation as shown above.
i) Please connect to Remote Desktop as given in step 2 to ensure stack is properly configured and DB is initialized.
ii) You can use MySQL server instance as localhost, username root and password as shown above.
If you have closed the deployment page you can also get the MySQL root password from VM Details “Custom metadata” Section
Step 4) Application URL: Access the application via a browser at http://PublicDNS/Mediawiki
For local MySQL root password, please use the temporary password generated automatically during image creation as shown above.
i) Please connect to Remote Desktop as given in step 2 to ensure stack is properly configured and DB is initialized.
ii) You can use MySQL server instance as localhost, username root and password as shown above.
If you have closed the deployment page you can also get the MySQL root password from VM Details “Custom metadata” Section
Step 4) Application URL: Access the application via a browser at http://PublicDNS/Mediawiki
 Step 4) Other Information:
1.Default ports:
Step 4) Other Information:
1.Default ports: