
AWS Deployment Azure Deployment
Summary
A LAMP (Linux, Apache, MySQL, PHP) stack is a common web stack used for hosting web content.The LAMP stack is an open source web platform that can be used to run dynamic web sites and servers. LAMP on cloud includes Linux, Apache, MySQL and PHP/Python/Perl and is considered by many the platform of choice for development and deployment of high-performance web applications which require a solid and reliable foundation.
LAMP provides an adequate alternative to commercial packages and works as a bundle of software programs that provide the necessary platform to develop and implement web based applications and servers.
CloudMint provides Enterprise Ready LAMP server on cloud ( AWS marketplace, Azure and Google Cloud Platform).
Deploy own LAMP server securely on cloud i.e. AWS marketplace and Azure and Google Cloud Platform (GCP).
Highlights
Major Features of LAMP Stack
- Application and websites build with lamp will have scalable features .
- PHP, Python and Perl support for Apache2 and MySQL.
- XCache – PHP opcode caching acceleration.
- Adminer administration frontend for MySQL (listening on port 12322 – uses SSL).
- Postfix MTA (bound to localhost) to allow sending of email from web applications (e.g., password recovery).
Webmin modules for configuring Apache2, PHP, MySQL and Postfix. - Lamp Stack has got a secure architecture and high-end encryption for assuring security.
AWS
Installation Instructions For Ubuntu Installation Instructions For Redhat Installation Instructions For CentOS
Installation Instructions For Ubuntu
Note: How to find PublicDNS in AWS
Step 1) SSH Connection: To connect to the deployed instance, Please follow Instructions to Connect to Ubuntu instance on AWS Cloud
1) Download Putty.
2) Connect to virtual machine using following SSH credentials :
- Hostname: PublicDNS / IP of machine
- Port : 22
Username: To connect to the operating system, use SSH and the username is ubuntu.
Password: Please Click here to know how to get password .
Step2 ) Database Login Details :
- MYSQL Username : root
- MYSQL Password : TChangeh&33plz7@L
Note :Please change the password immediately after first login.
Server version: 5.7.18 MySQL Community Server
MYSQL Services:
To start MySQL Service: service mysql start
To stop MySQL Service: service mysql stop
To restart MySQL Service: service mysql restart
To get status of MySQL Service: service mysql status
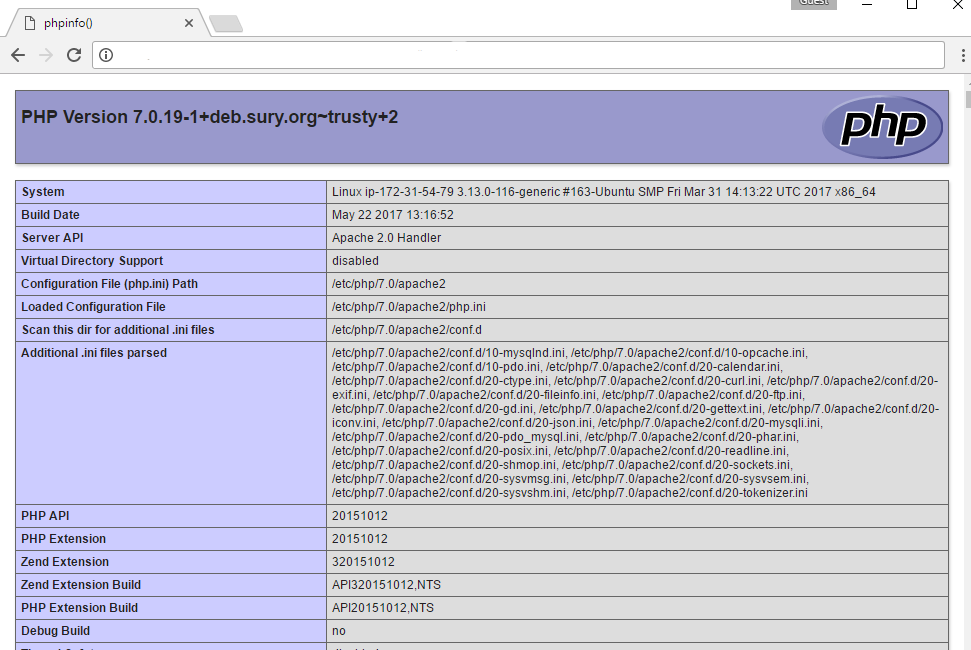
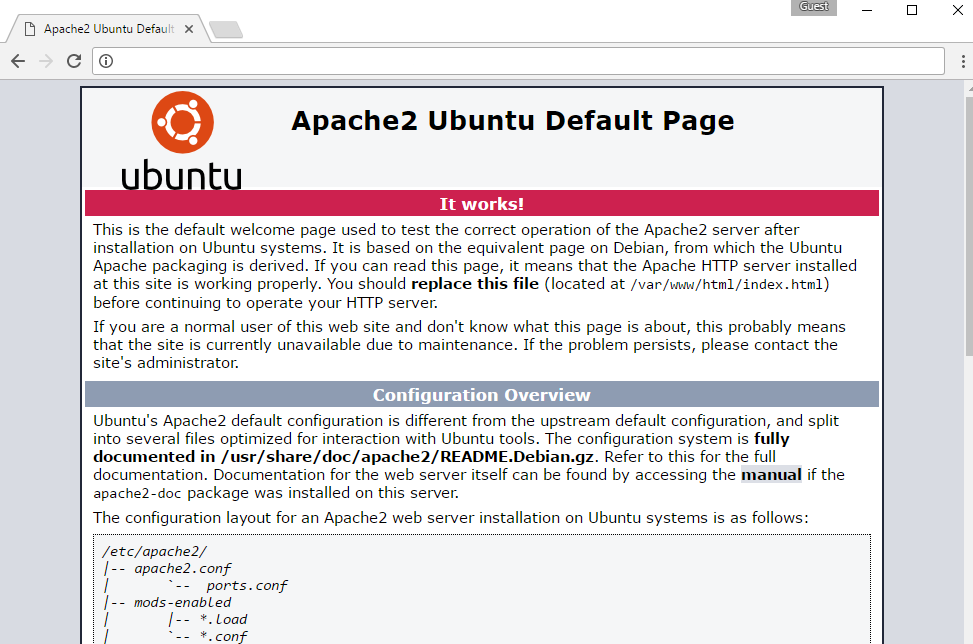
Step 3) Application URL: Access the application via a browser at “http://PublicDNS
Step 4) Other Information:
PHP Version is 7.0.19
1.Default installation path: will be in your web root folder “/var/www/html”
2.Default ports:
- Linux Machines: SSH Port – 22
- Http: 80
- Https: 443
- MySQL Port : 3306 this is by default not allowed on cloud firewall for security.
Configure custom inbound and outbound rules using this link
3. To access Webmin interface for management please follow this link
For getting started with LAMP Stack Kindly note that :
1) Apache comes with a default virtual host file called 000-default.conf
The default site root here is /var/www/html.If you put any file in this folder like test.txt you can access it with <yourPublicip>/text.txt or <yourDomain>/test.txt
2)To Create New Virtual Host Files:
Virtual host files specify the actual configuration of our virtual hosts and dictate how the Apache web server will respond to various domain request
3) You can use the a2ensite tool to enable each of your sites : sudo a2ensite example.com.conf
4) If you wish to disable the default site defined in 000-default.conf use a2dissite command:
sudo a2dissite 000-default.conf
5) To reflect the changes restart apache service
service apache2 restart
Installation Instructions For RedHat
Note : How to find PublicDNS in AWS
Step 1) SSH Connection: To connect to the deployed instance, Please follow Instructions to Connect to Redhat instance on AWS Cloud
1) Download Putty.
2) Connect to the virtual machine using following SSH credentials :
- Hostname: PublicDNS / IP of machine
- Port : 22
Username: To connect to the operating system, use SSH and the username is ubuntu.
Password: Please Click here to know how to get password .
Step2 ) Database Login Details :
- MYSQL Username : root
- MYSQL Password : TChangeh&33plz7@L
Note: Please change the password after first login.
Mysql Server version: 5.7.18 MySQL Community Server
MYSQL Services:
To start MySQL Service: systemctl start mysqld
To stop MySQL Service: systemctl stop mysqld
To restart MySQL Service: systemctl restart mysqld
To get status of MySQL Service: systemctl status mysqld
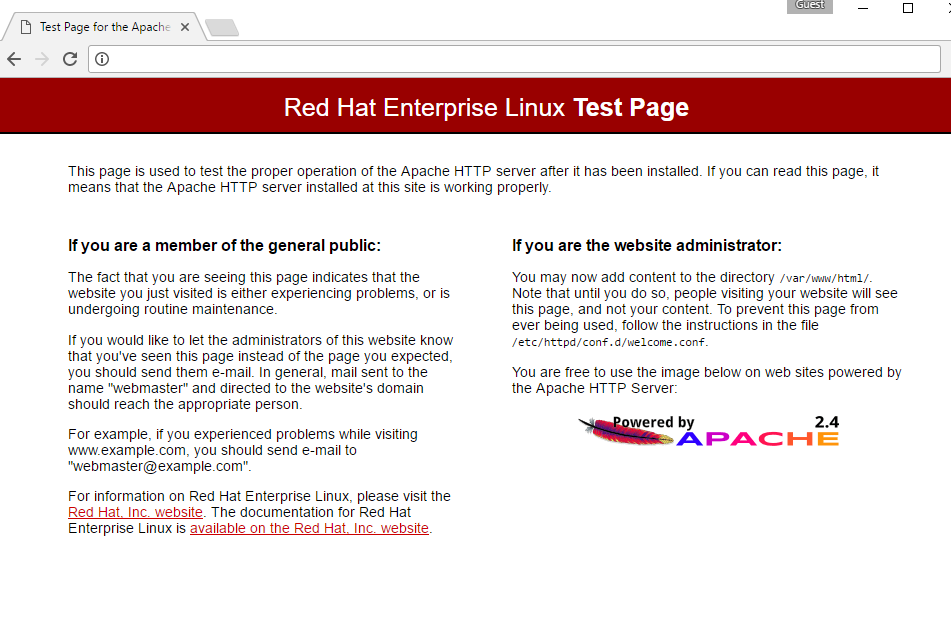
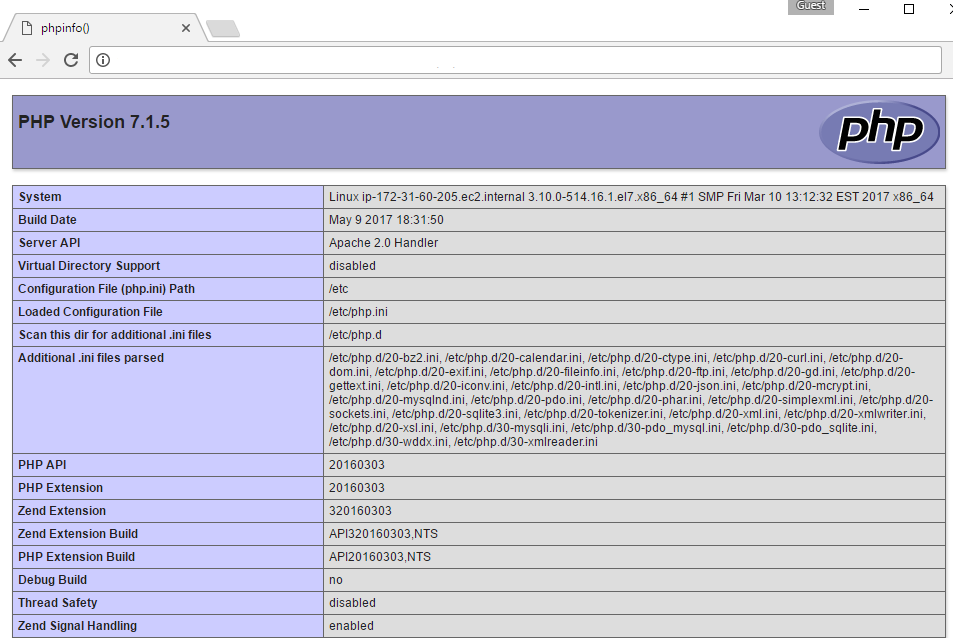
Step 3) Application URL: Access the application via a browser at http://PublicDNS
Step 4) Other Information:
PHP Version is 7.1.5
1. Default installation path: will be in your web root folder “/var/www/html”
2. Default ports:
- Linux Machines: SSH Port – 22
- Http: 80
- Https: 443
- MySQL Port: 3306 this is by default not allowed on cloud firewall for security.
Configure custom inbound and outbound rules using this link
3. To access Webmin interface for management please follow this link
For getting started with LAMP Stack Kindly note that :
1) Apache comes with a default virtual host file called 000-default.conf
The default site root here is /var/www/html.If you put any file in this folder like test.txt you can access it with <yourPublicip>/text.txt or <yourDomain>/test.txt
2)To Create New Virtual Host Files:
Virtual host files specify the actual configuration of our virtual hosts and dictate how the Apache web server will respond to various domain request
3) You can use the a2ensite tool to enable each of your sites: sudo a2ensite example.com.conf
4) If you wish to disable the default site defined in 000-default.conf use the a2dissite command:
sudo a2dissite 000-default.conf
5) To reflect the changes restart Apache service
service apache2 restart
Installation Instructions For CentOS
Note: How to find PublicDNS in AWS
Step 1) SSH Connection: To connect to the deployed instance, Please follow Instructions to Connect to CentOS instance on AWS Cloud
1) Download Putty.
2) Connect to the virtual machine using SSH key Refer this link:
- Hostname: PublicDNS / IP of machine
- Port : 22
Username: To connect to the operating system, use RDP and the username is Administrator.
Password : Please Click here to know how to get password .
Step 2 )Database Login Details:
- MYSQL Username : root
- MYSQL Password : TChangeh&33plz7@L
Step 3) Other Information:
1.Default installation path: will be in your web root folder “/var/www/html/”
2.Default ports:
- Linux Machines: SSH Port – 22
- Http: 80
- Https: 443
- MYSQL ports: By default, these are not open on Public Endpoints. MYSQL: 3306
3. To access Webmin interface for management please follow this link
Configure custom inbound and outbound rules using this link.
Azure
Installation Instructions For Ubuntu Installation Instructions For CentOS
Installation Instructions For Ubuntu
Note: How to find PublicDNS in Azure
Step 1) SSH Connection: To connect to the deployed instance, Please follow Instructions to Connect to Ubuntu instance on Azure Cloud
1) Download Putty.
2) Connect to virtual machine using following SSH credentials:
- Hostname: PublicDNS / IP of machine
- Port : 22
Username: Your chosen username when you created the machine ( For example: Azureuser)
Password : Your Chosen Password when you created the machine ( How to reset the password if you do not remember)
Step 2) Database Login Details :
- MYSQL Username : root
- MYSQL Password : TChangeh&33plz7@L
Note: Please change password immediately after first login.
Step 3) Application URL: Access the application via a browser at “http://PublicDNS/”
Step 4) Other Information:
1. Default installation path: “/var/www/html/”.
2. Default ports:
- Linux Machines: SSH Port – 22
- Http: 80
- Https: 443
- MySQL ports: By default, these are not open on Public Endpoints. MySQL:3306
Configure custom inbound and outbound rules using this link
3. To access Webmin interface for management please follow this link
For getting started with LAMP Stack Kindly note that :
1) Apache comes with a default virtual host file called 000-default.conf
The default site root here is /var/www/html.If you put any file in this folder like test.txt you can access it with <yourPublicip>/text.txt or <yourDomain>/test.txt
2)To Create New Virtual Host Files:
Virtual host files specify the actual configuration of our virtual hosts and dictate how the Apache web server will respond to various domain request
3) You can use the a2ensite tool to enable each of your sites: sudo a2ensite example.com.conf
4) If you wish to disable the default site defined in 000-default.conf use the a2dissite command:
sudo a2dissite 000-default.conf
5) To reflect the changes restart Apache service
service apache2 restart
Installation Instructions For CentOS
Note : How to find PublicDNS in Azure
Step 1) SSH Connection: To connect to the deployed instance, Please follow Instructions to Connect to CentOS instance on Azure Cloud
1) Download Putty.
2) Connect to virtual machine using following SSH credentials :
- Hostname: PublicDNS / IP of machine
- Port : 22
Username: Your chosen username when you created the machine ( For example: Azureuser)
Password : Your Chosen Password when you created the machine ( How to reset the password if you do not remember)
Step 2) Database Login Details :
- MYSQL Username : root
- MYSQL Password : TChangeh&33plz7@L
Note :-Please change password immediately after first login.
Step 3) Application URL: Access the application via a browser at “http://PublicDNS/”
Step 4) Other Information:
1. Default installation path: “/var/www/html/”.
2. Default ports:
- Linux Machines: SSH Port – 22
- Http: 80
- Https: 443
- MySQL ports: By default these are not open on Public Endpoints. MySQL :3306
Configure custom inbound and outbound rules using this link
3. To access Webmin interface for management please follow this link
To troubleshoot any SELinux issues please refer this link.
For getting started with LAMP Stack Kindly note that :
1) Apache comes with a default virtual host file called 000-default.conf
The default site root here is /var/www/html.If you put any file in this folder like test.txt you can access it with <yourPublicip>/text.txt or <yourDomain>/test.txt
2)To Create New Virtual Host Files:
Virtual host files specify the actual configuration of our virtual hosts and dictate how the Apache web server will respond to various domain request
3) You can use the a2ensite tool to enable each of your sites: sudo a2ensite example.com.conf
4) If you wish to disable the default site defined in 000-default.conf use the a2dissite command:
sudo a2dissite 000-default.conf
5) To reflect the changes restart Apache service
service apache2 restart
Step by Step Screenshots :


Installation Instructions For Ubuntu Installation Instructions For Redhat
Installation Instructions For Ubuntu
Step 1) VM Creation:
1.Click the Launch on Compute Engine button to choose the hardware and network settings.
2.You can see at this page, an overview of CloudMint Image as well as some estimated costs of VM.
3.In the settings page, you can choose the number of CPUs and amount of RAM, the disk size and type etc.
Step 2) SSH Connection: To connect to the deployed instance, Please follow Instructions to Connect to Ubuntu instance on Google Cloud
1) Download Putty.
2) Connect to the virtual machine using SSH key
- Hostname: PublicDNS / IP of machine
- Port : 22
Step 3) Database Login Details:
For local MySQL root password, please use the temporary password generated automatically during image creation
i) Please connect to Remote Desktop as given in step 2 to ensure stack is properly configured and DB is initialized.
ii) You can use MySQL server instance as localhost, username root and password
If you have closed the deployment page you can also get the MySQL root password from VM Details “Custom metadata” Section
Step 4) Other Information:
1.Default ports:
- Linux Machines: SSH Port – 22
2. To access Webmin interface for management please follow this link
For getting started with LAMP Stack Kindly note that :
1) Apache comes with a default virtual host file called 000-default.conf
The default site root here is /var/www/html.If you put any file in this folder like test.txt you can access it with <yourPublicip>/text.txt or <yourDomain>/test.txt
2)To Create New Virtual Host Files:
Virtual host files specify the actual configuration of our virtual hosts and dictate how the Apache web server will respond to various domain request
3) You can use the a2ensite tool to enable each of your sites: sudo a2ensite example.com.conf
4) If you wish to disable the default site defined in 000-default.conf use the a2dissite command:
sudo a2dissite 000-default.conf
5) To reflect the changes restart Apache service
service apache2 restart
Installation Instructions For Redhat
Step 1) VM Creation:
1.Click the Launch on Compute Engine button to choose the hardware and network settings.
2.You can see at this page, an overview of CloudMint Image as well as some estimated costs of VM.
3.In the settings page, you can choose the number of CPUs and amount of RAM, the disk size and type etc.
Step 2) SSH Connection: To connect to the deployed instance, Please follow Instructions to Connect to Redhat instance on Google Cloud
1) Download Putty.
2) Connect to the virtual machine using SSH key
- Hostname: PublicDNS / IP of machine
- Port : 22
Step 3) Database Login Details:
For local MySQL root password, please use the temporary password generated automatically during image creation
i) Please connect to Remote Desktop as given in step 2 to ensure stack is properly configured and DB is initialized.
ii) You can use MySQL server instance as localhost, username root and password
If you have closed the deployment page you can also get the MySQL root password from VM Details “Custom metadata” Section
Step 4) Other Information:
1.Default ports:
- Linux Machines: SSH Port – 22
2. To access Webmin interface for management please follow this link
For getting started with LAMP Stack Kindly note that :
1) Apache comes with a default virtual host file called 000-default.conf
The default site root here is /var/www/html.If you put any file in this folder like test.txt you can access it with <yourPublicip>/text.txt or <yourDomain>/test.txt
2)To Create New Virtual Host Files:
Virtual host files specify the actual configuration of our virtual hosts and dictate how the Apache web server will respond to various domain request
3) You can use the a2ensite tool to enable each of your sites: sudo a2ensite example.com.conf
4) If you wish to disable the default site defined in 000-default.conf use the a2dissite command:
sudo a2dissite 000-default.conf
5) To reflect the changes restart Apache service
service apache2 restart
Step by Step Screenshots :
Videos
How to Install LAMP in Ubuntu Server 14.04 LTS
How to Install LAMP on CentOS 7