
AWS Deployment Azure Deployment
Summary
WordPress is an open source Content Management System (CMS), which allows the users to build dynamic websites and blog. WordPress is the most popular blogging system on the web and allows updating, customizing and managing the website from its back-end CMS and components.
WordPress is an Open Source project, which means there are hundreds of people all over the world working on it. (More than most commercial platforms.) It also means you are free to use it for anything from your recipe site to a Fortune 500 web site without paying anyone a license fee
CloudMint Provides Enterprise Ready images of WordPress on the cloud ( AWS marketplace, Azure and Google Cloud Platform).
Deploy WordPress securely on cloud i.e. AWS marketplace, Azure and Google Cloud Platform (GCP)
Highlights
Major Features of WordPress :
- Simplicity – Simplicity makes it possible for you to get online and get publishing, quickly. Nothing should get in the way of you getting your website up and your content out there. WordPress is built to make that happen.
- Flexibility – With WordPress, you can create any type of website you want: a personal blog or website, a photoblog, a business website, a professional portfolio, a government website, a magazine or news website, an online community, even a network of websites. You can make your website beautiful with themes and extend it with plugins. You can even build your very own application.
- Publishing Tools – WordPress makes it easy for you to manage your content. Create drafts, schedule publication and look at your post revisions. Make your content public or private and secure posts and pages with a password.
- User Management – Not everyone requires the same access to your website. Administrators manage the site, editors work with content, authors and contributors write that content and subscribers have a profile that they can manage. This lets you have a variety of contributors to your website and let others simply be part of your community.
- Easy Theme System – WordPress comes bundled with two default themes, but if they aren’t for you there’s a theme directory with thousands of themes for you to create a beautiful website. None of those to your taste? Upload your own theme with the click of a button. It only takes a few seconds for you to give your website a complete makeover.
- Built-in Comments – Your blog is your home and comments provide a space for your friends and followers to engage with your content. WordPress’s comment tools give you everything you need to be a forum for discussion and to moderate that discussion.
- Search Engine Optimized – WordPress is optimized for search engines right out of the box. For more fine-grained SEO control, there are plenty of SEO plugins to take care of that for you.
- Multilingual – WordPress is available in more than 70 languages. If you or the person you’re building the website for would prefer to use WordPress in a language other than English, that’s easy to do.
- Freedom – WordPress is licensed under the GPL which was created to protect your freedoms. You are free to use WordPress in any way you choose: install it, use it, modify it, distribute it. Software freedom is the foundation that WordPress is built on.
- Community – As the most popular open source CMS on the web, WordPress has a vibrant and supportive community. Ask a question on the support forums and get help from a volunteer, attend a WordCamp or Meetup to learn more about WordPress, read blogs posts and tutorials about WordPress. Community is at the heart of WordPress, making it what it is today.
AWS
Installation Instructions For Windows
Installation Instructions for Windows
Note: How to find PublicDNS in AWS
Step 1) RDP Connection: To connect to the deployed instance, Please follow Instructions to Connect to Windows instance on AWS Cloud
Connect to the virtual machine using following RDP credentials:
- Hostname: PublicDNS / IP of machine
- Port : 3389
Username: To connect to the operating system, use RDP and the username is Administrator.
Password: Please Click here to know how to get password .
Step 2) Database Login Details:
Username : root || Password : TChangeh&33plz7@L
Please change the password immediately after the first login.
Step 3) Application URL:Access the application via a browser at “http://PublicDNS/”
Step 4) Other Information:
1.Default installation path: will be in your web root folder “C:\inetpub\wwwroot”
2.Default ports:
- RDP:3389
- Http: 80
- Https: 443
- MYSQL ports: By default, these are not open on Public Endpoints. MYSQL: 3306
Step by Step Screenshots:
Azure
Installation Instructions For Ubuntu Installation Instructions For Windows Installation Instructions For Centos
Installation Instructions For Ubuntu
Note : How to find PublicDNS in Azure
Step 1) SSH Connection: To connect to the deployed instance, Please follow Instructions to Connect to Ubuntu instance on Azure Cloud
1) Download Putty.
2) Connect to virtual machine using following SSH credentials:
- Hostname: PublicDNS / IP of machine
- Port : 22
Username: Your chosen username when you created the machine ( For example: Azureuser)
Password : Your Chosen Password when you created the machine ( How to reset the password if you do not remember)
Step 2) Database Login Details:
Username : root || Password : TChangeh&33plz7@L
Note: Please change the password immediately after the first login.
Step 3) Application URL:Access the application via a browser at “http://PublicDNS/”
Step 4) Other Information:
1.Default installation path: will be in your web root folder “/var/www/html/”
2.Default ports:
- Linux Machines: SSH Port – 22
- Http: 80
- Https: 443
- MYSQL ports: By default, these are not open on Public Endpoints. MYSQL: 3306
Configure custom inbound and outbound rules using this link
3. To access Webmin interface for management please follow this link
Installation Instructions For Windows
Note: How to find PublicDNS in Azure
Step1 ) RDP Connection: To connect to the deployed instance, Please follow Instructions to Connect to Windows instance on Azure Cloud
Connect to virtual machine using following RDP credentials:
- Hostname: PublicDNS / IP of machine
- Port : 3389
Username: Your chosen username when you created the machine ( For example: Azureuser)
Password : Your Chosen Password when you created the machine ( How to reset the password if you do not remember)
Step 2 )Database Login Details:
Username : root || Password : TChangeh&33plz7@L
Please change the password immediately after the first login.
Step 3) Application URL: Access the application via a browser at “http://PublicDNS/”
Step 4) Other Information:
1.Default installation path: will be in your web root folder “C:\inetpub\wwwroot”
2.Default ports:
- RDP:3389
- Http: 80
- Https: 443
- MYSQL ports: By default, these are not open on Public Endpoints. MYSQL: 3306
Configure custom inbound and outbound rules using this link
Installation Instructions For CentOS
Note : How to find PublicDNS in Azure
Step 1) SSH Connection: To connect to the deployed instance, Please follow Instructions to Connect to Centos instance on Azure Cloud
1) Download Putty.
2) Connect to virtual machine using following SSH credentials:
- Hostname: PublicDNS / IP of machine
- Port : 22
Username: Your chosen username when you created the machine ( For example: Azureuser)
Password : Your Chosen Password when you created the machine ( How to reset the password if you do not remember)
Step 2 )Database Login Details:
Username : root || Password : TChangeh&33plz7@L
Please change the password immediately after the first login.
Step 3 ) Application URL: Access the application via a browser at “http://PublicDNS/”
Step 4 )Other Information:
1.Default installation path: will be in your web root folder “/var/www/html/”
2.Default ports:
- Linux Machines: SSH Port – 22
- Http: 80
- Https: 443
- MYSQL ports: By default, these are not open on Public Endpoints. MYSQL: 3306
Configure custom inbound and outbound rules using this link
3. To access Webmin interface for management please follow this link
Installation Instructions For Windows
Installation Instructions For Ubuntu Installation Instructions For Redhat
Installation Instructions for Windows
Step 1) VM Creation:
1.Click the Launch on Compute Engine button to choose the hardware and network settings.
2.You can see at this page, an overview of CloudMint Image as well as some estimated costs of VM.
3.In the settings page, you can choose the number of CPUs and amount of RAM, the disk size and type etc.
Step 2) RDP Connection: To initialize the DB connect to the deployed instance, Please follow Instructions to Connect to Windows instance on Google Cloud
Step 3) Database Login Details:
For local MySQL root password please use the Temporary password from metadata set during image creation.
Please note you have to connect to Remote Desktop of the server at least once to initialize and use this password.
For local MySQL root password, please use the temporary password generated automatically during image creation i) Please connect to Remote Desktop as given in step 2 to ensure stack is properly configured and DB is initialized.
If you have closed the deployment page you can also get the MySQL root password from VM Details “Custom metadata” Section.
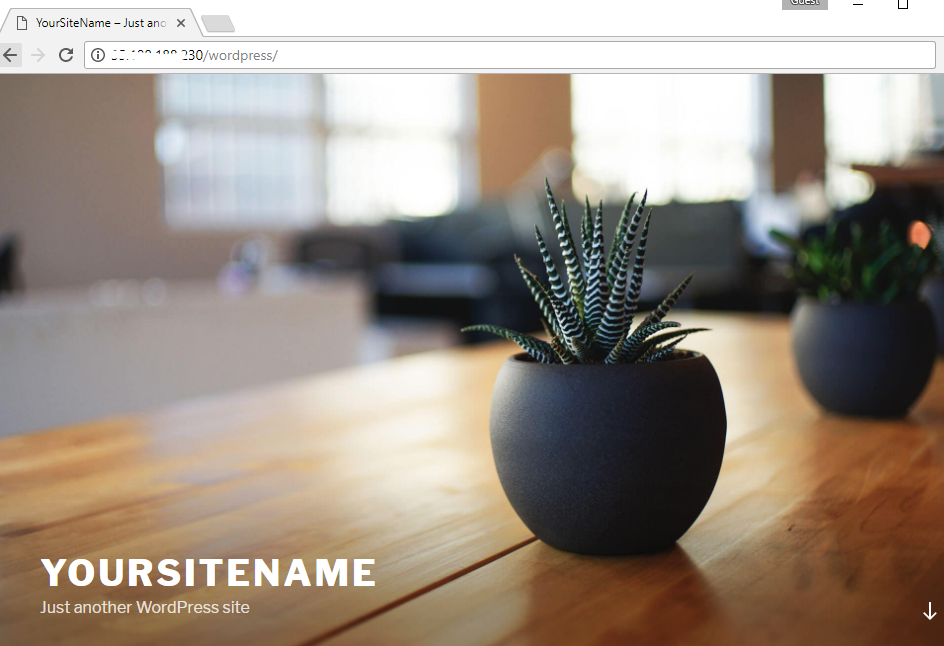
Step 4) Application URL: Access the application via a browser at http://<yourip>/wordpress
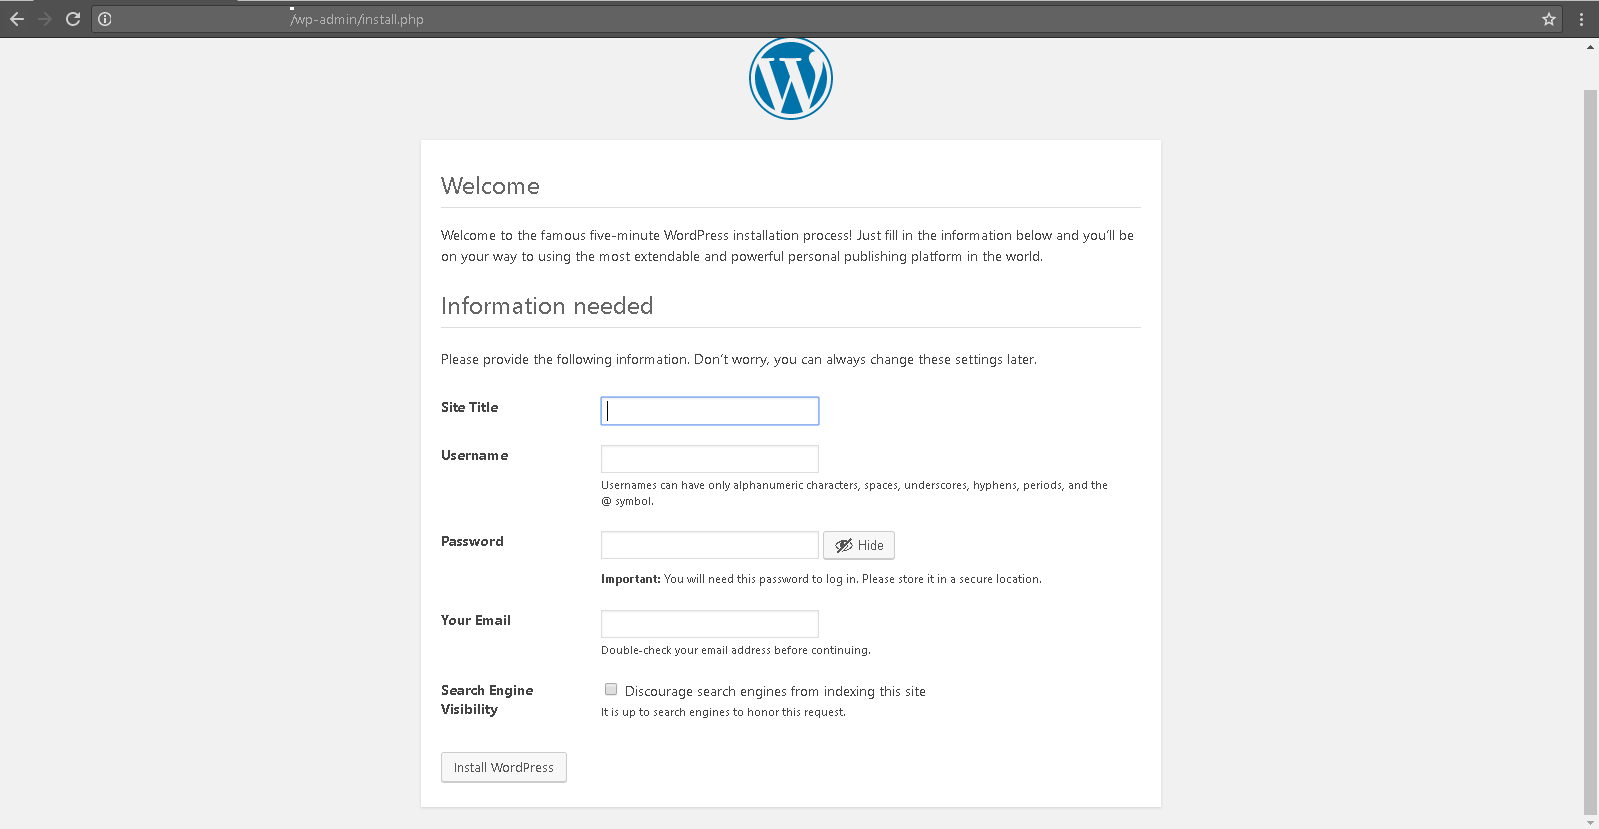
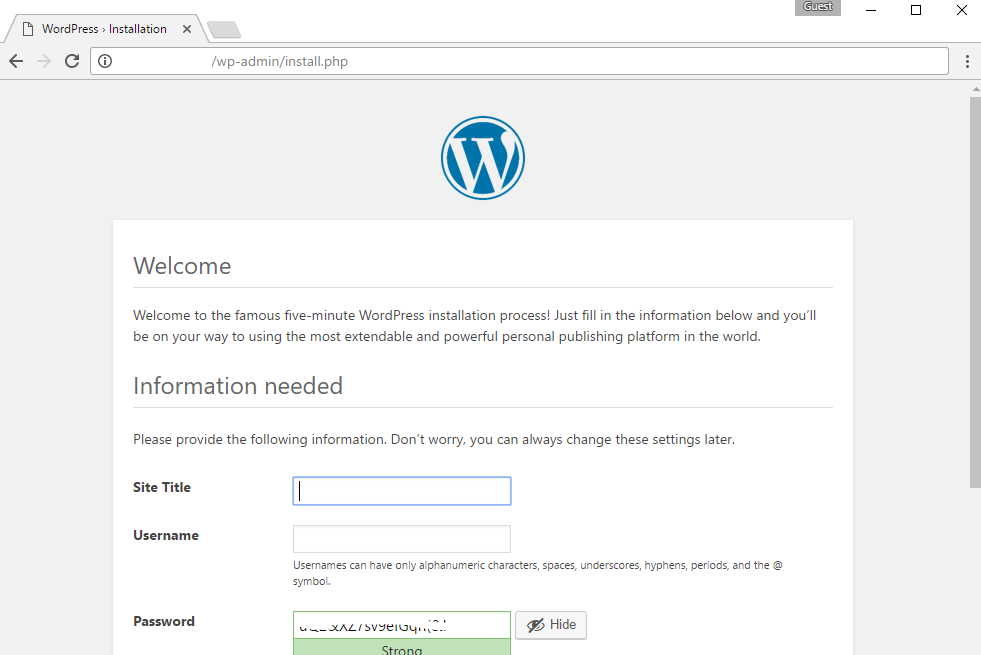
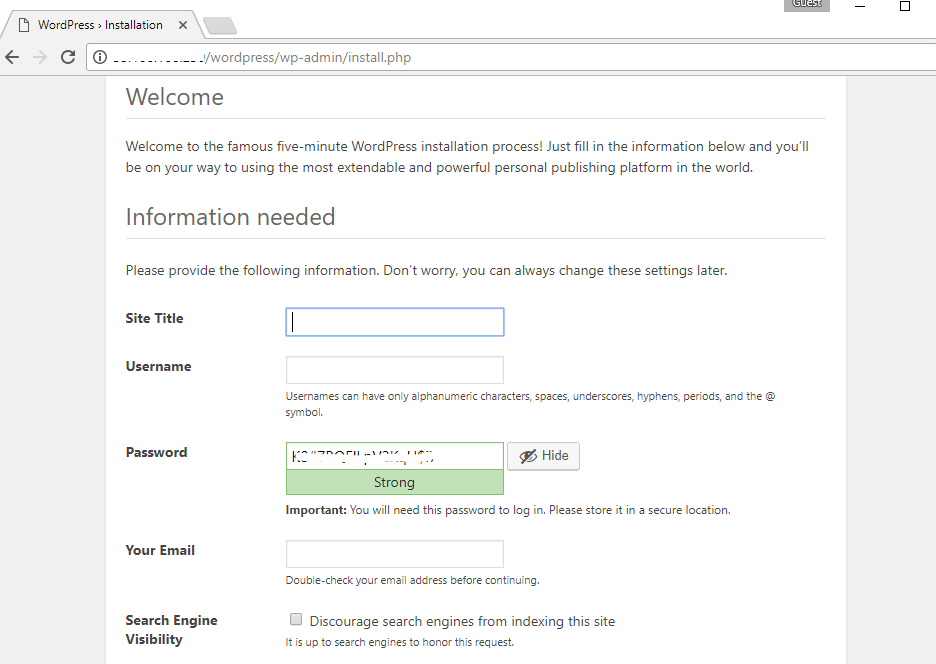
A) You will see the below page where you can configure your site data with site name, wordpress admin name etc.
B) On next page you will see configuration success message.

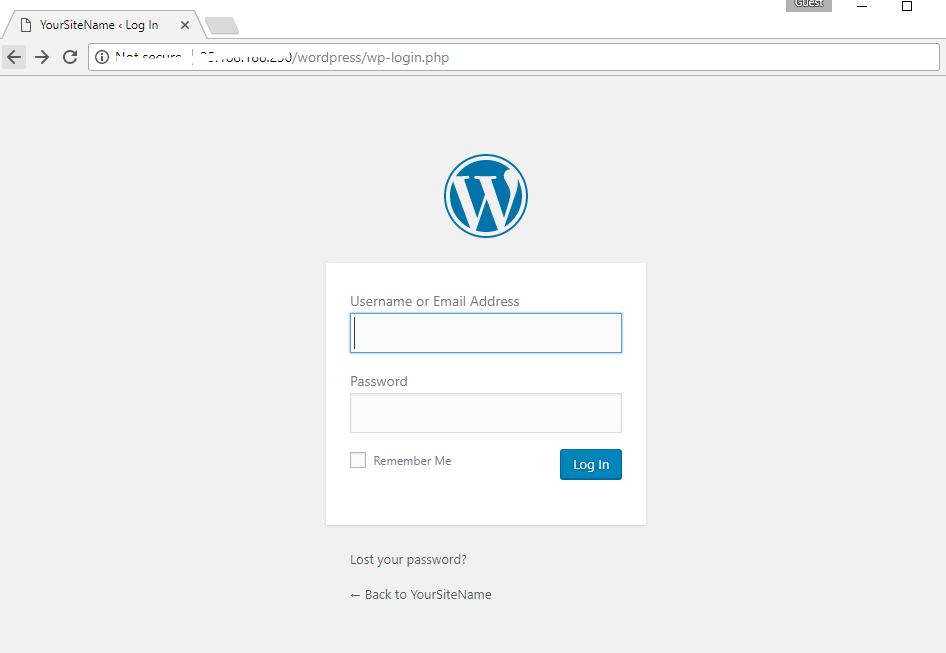
C) You can login to the wordpress admin portal with the wordpress username and its generated password from point A shown above.
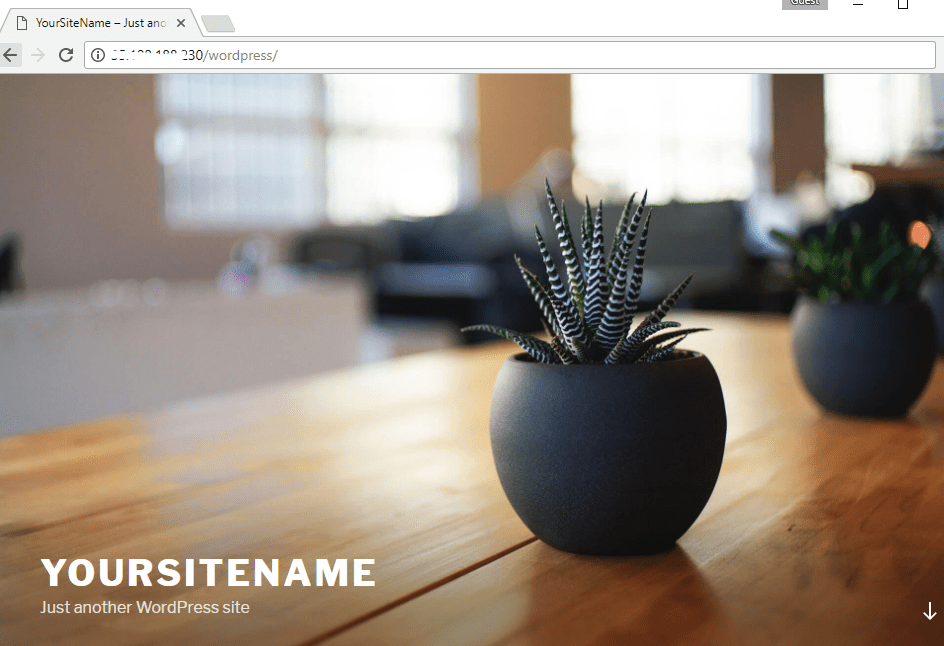
D) You can access the configured site at http://yourIP/wordpress
Step 5) Other Information:
1.Default installation path: will be in your web root folder “C:\inetpub\wwwroot\wordpress”
2.Default ports:
- RDP:3389
- Http: 80
- Https: 443
- MYSQL ports: By default, these are not open on Public Endpoints. MYSQL: 3306
Installation Instructions For Ubuntu
Step 1) VM Creation:
1.Click the Launch on Compute Engine button to choose the hardware and network settings.
2.You can see at this page, an overview of CloudMint Image as well as some estimated costs of VM.
3.In the settings page, you can choose the number of CPUs and amount of RAM, the disk size and type etc.
Step 2) SSH Connection: To connect to the deployed instance, Please follow Instructions to Connect to Ubuntu instance on Google Cloud
1) Download Putty.
2) Connect to the virtual machine using SSH key
- Hostname: PublicDNS / IP of machine
- Port : 22
Step 3) Database Login Details:
For local MySQL root password, please use the temporary password generated automatically during image creation
i) Please connect to Remote Desktop as given in step 2 to ensure stack is properly configured and DB is initialized.
ii) You can use MySQL server instance as localhost, username root and password as shown above.
If you have closed the deployment page you can also get the MySQL root password from VM Details “Custom metadata” Section
Step 4) Application URL: Access the application via a browser at http://<yourip>/wordpress
A) You will see the below page where you can configure your site data with site name, wordpress admin name etc.

B) On next page you will see configuration success message.
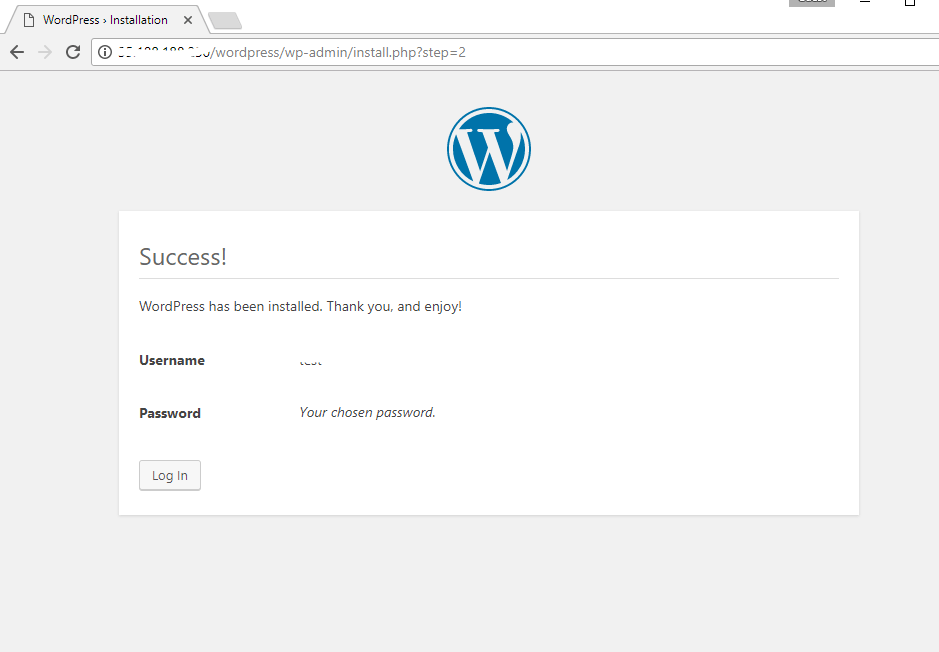
C) You can login to the wordpress admin portal with the wordpress username and its generated password from point A shown above.

D) You can access the configured site at http://yourIP/wordpress
Step 5) Other Information:
1.Default ports:
- Linux Machines: SSH Port – 22
2. To access Webmin interface for management please follow this link.
Installation Instructions For Redhat
Step 1) VM Creation:
1.Click the Launch on Compute Engine button to choose the hardware and network settings.
2.You can see at this page, an overview of CloudMint Image as well as some estimated costs of VM.
3.In the settings page, you can choose the number of CPUs and amount of RAM, the disk size and type etc.
Step 2) SSH Connection: To connect to the deployed instance, Please follow Instructions to Connect to Redhat instance on Google Cloud
1) Download Putty.
2) Connect to the virtual machine using SSH key
- Hostname: PublicDNS / IP of machine
- Port : 22
Step 3) Database Login Details:
For local MySQL root password, please use the temporary password generated automatically during image creation
i) Please connect to Remote Desktop as given in step 2 to ensure stack is properly configured and DB is initialized.
ii) You can use MySQL server instance as localhost, username root and password as shown above.
If you have closed the deployment page you can also get the MySQL root password from VM Details “Custom metadata” Section
Step 4) Application URL: Access the application via a browser at http://<yourip>/wordpress
A) You will see the below page where you can configure your site data with site name, wordpress admin name etc.
B) On next page you will see configuration success message.
C) You can login to the wordpress admin portal with the wordpress username and its generated password from point A shown above.
D) You can access the configured site at http://yourIP/wordpress
Step 5) Other Information:
1.Default ports:
- Linux Machines: SSH Port – 22
2. To access Webmin interface for management please follow this link
Videos
An Introduction to WordPress
Installation Of WordPress